Cheeseburger Sliders: Batch‑Cook, Freeze, and Reheat for Stress‑Free Weeknights

Cheeseburger Sliders: Batch‑Cook, Freeze, and Reheat for Stress‑Free Weeknights
Why You’ll Love Batch‑Cooking Sliders
If you’ve ever stared at a dinner clock, wishing there was a faster way to put a satisfying meal on the table, cheeseburger sliders might just be your new secret weapon. You can make a big batch on a lazy Sunday, pop the portions into the freezer, and pull out just enough for a quick weeknight dinner or a packed lunch. The result? A warm, melty bite that tastes just like you just assembled it, with almost no effort.
The Perfect Slider Recipe (Makes About 24 Mini Sliders)
Ingredients
- 2 lb (900 g) ground beef, 80/20 lean‑to‑fat for juicy flavor
- 1 tsp kosher salt
- ½ tsp freshly ground black pepper
- 1 tsp garlic powder
- 1 tsp onion powder
- 12 mini brioche or pretzel buns (soft, slightly sweet)
- 12 slices sharp cheddar, pepper jack, or your favorite cheese
- 12 thin slices dill pickle or classic lettuce
- 12 small dollops ketchup, mustard, or mayo (optional)
- 2 tbsp butter, melted (for toasting buns)
Equipment
- Large mixing bowl
- Grill pan, cast‑iron skillet, or outdoor grill
- Baking sheet
- Parchment paper or silicone mat
- Airtight freezer bags or containers
Step‑by‑Step Cooking
- Season the meat – In a bowl, combine the ground beef with salt, pepper, garlic powder, and onion powder. Mix gently; over‑mixing makes the patties tough.
- Form the patties – Divide the meat into 24 equal portions (about 1 oz each). Shape each into a thin disc, about ½‑inch thick. Press a small indentation in the center with your thumb; this prevents puffing while cooking.
- Cook – Heat your grill or skillet over medium‑high heat. Add a thin layer of oil if needed. Cook the patties 2‑3 minutes per side, or until they reach an internal temperature of 160 °F (71 °C). During the last minute, place a slice of cheese on each patty and cover the pan to melt.
- Toast the buns – Brush the cut sides of the buns with melted butter. Toast them cut‑side‑down on the grill for 30‑45 seconds, just until golden.
- Assemble – Place a patty on the bottom bun, add a pickle slice (or lettuce), a dab of your favorite condiment, then cap with the top bun. You now have a classic cheeseburger slider!
Freezing Like a Pro
- Cool First – Let the assembled sliders cool to room temperature (about 20‑30 minutes). This prevents condensation that can make the buns soggy.
- Wrap Individually – Wrap each slider tightly in a piece of parchment paper, then place them in a freezer‑safe zip‑top bag. Squeeze out as much air as possible.
- Label & Date – Write the preparation date on the bag. Sliders keep well for up to 3 months.
- Portion Control – If you know you’ll need just 4‑6 sliders for a meal, group them in a small bag. That way you thaw only what you need, reducing waste.
Reheating for Perfect Texture
Microwave (Quick Fix)
- Place 2‑3 sliders on a microwave‑safe plate. Cover loosely with a paper towel.
- Heat on high for 45‑60 seconds, then flip and heat another 30‑45 seconds.
- The cheese may get a bit rubbery, but the buns stay soft.
Oven (Best for Crispness)
- Preheat oven to 350 °F (175 °C).
- Arrange sliders on a baking sheet lined with parchment.
- Heat for 8‑10 minutes, or until the cheese is melted and the buns are lightly crisp.
- This method revives the toasted bun texture better than the microwave.
Air Fryer (Fast & Crunchy)
- Preheat to 375 °F (190 °C).
- Place sliders in a single layer, no overlap.
- Cook for 4‑5 minutes, shaking the basket halfway through.
- You’ll get a nicely browned bun and a juicy patty without any added oil.
Meal‑Prep Ideas
- Lunchbox Ready – Pack 2‑3 sliders with a side of carrot sticks and a small fruit cup. They stay tasty even after a few hours in a insulated bag.
- Game Night – Freeze a larger batch (48 sliders) and reheat in the oven while you watch the game. No kitchen traffic, just tasty bites.
- Freezer‑Friendly Breakfast – Slice a slider in half, toast the bun, and use it as a base for a quick breakfast sandwich with a fried egg and a slice of tomato.
Pro Tips & Variations
- Flavor Boost – Mix a teaspoon of Worcestershire sauce or a dash of smoked paprika into the meat before forming patties.
- Veggie Sliders – Swap half the beef for finely chopped mushrooms or a plant‑based patty for a mixed‑diet crowd.
- Spice It Up – Add a thin slice of jalapeño or a drizzle of chipotle mayo before the top bun.
- Cheese Swap – Try Swiss, mozzarella, or a slice of blue cheese for a gourmet twist.
- Bun Alternatives – Mini brioche, pretzel, or even gluten‑free buns work beautifully; just adjust toasting time.
Common Mistakes to Avoid
- Over‑cooking the patties – Thin sliders cook fast; keep an eye on them to stay juicy.
- Skipping the butter on buns – Toasted buns add flavor and prevent sogginess after reheating.
- Freezing while still hot – This creates ice crystals that make the buns mushy.
- Reheating too long – Excess heat dries out the meat; use the shortest time that just melts the cheese.
Final Encouragement
You’ve got everything you need to turn a simple cheeseburger into a versatile, freezer‑friendly meal that fits perfectly into a busy lifestyle. By batch‑cooking, freezing, and reheating, you’ll spend less time scrambling for dinner and more time enjoying those melt‑in‑your‑mouth bites with family, friends, or even just yourself after a long day. So fire up the grill, line up those buns, and start your first batch of sliders today – your future self will thank you!
Enjoyed this post?
Get weekly meal planning tips delivered to your inbox.
Comments
Related Posts
View All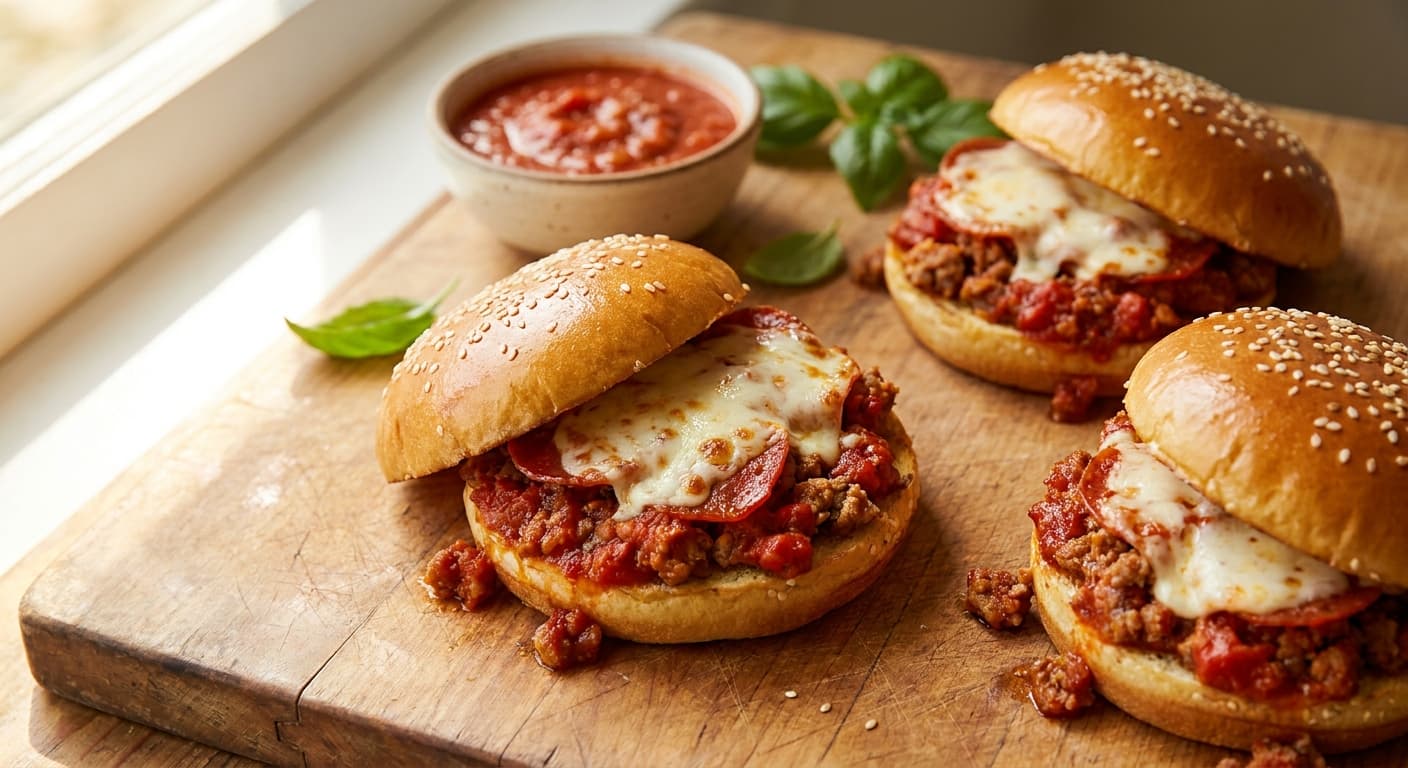
The Ultimate Freezer-Friendly Mashup: How to Batch and Store Pizza Burgers for Effortless Weeknight Dinners
Learn how to batch prep and freeze pizza burgers for quick weeknight dinners. This freezer-friendly mashup combines two family favorites.
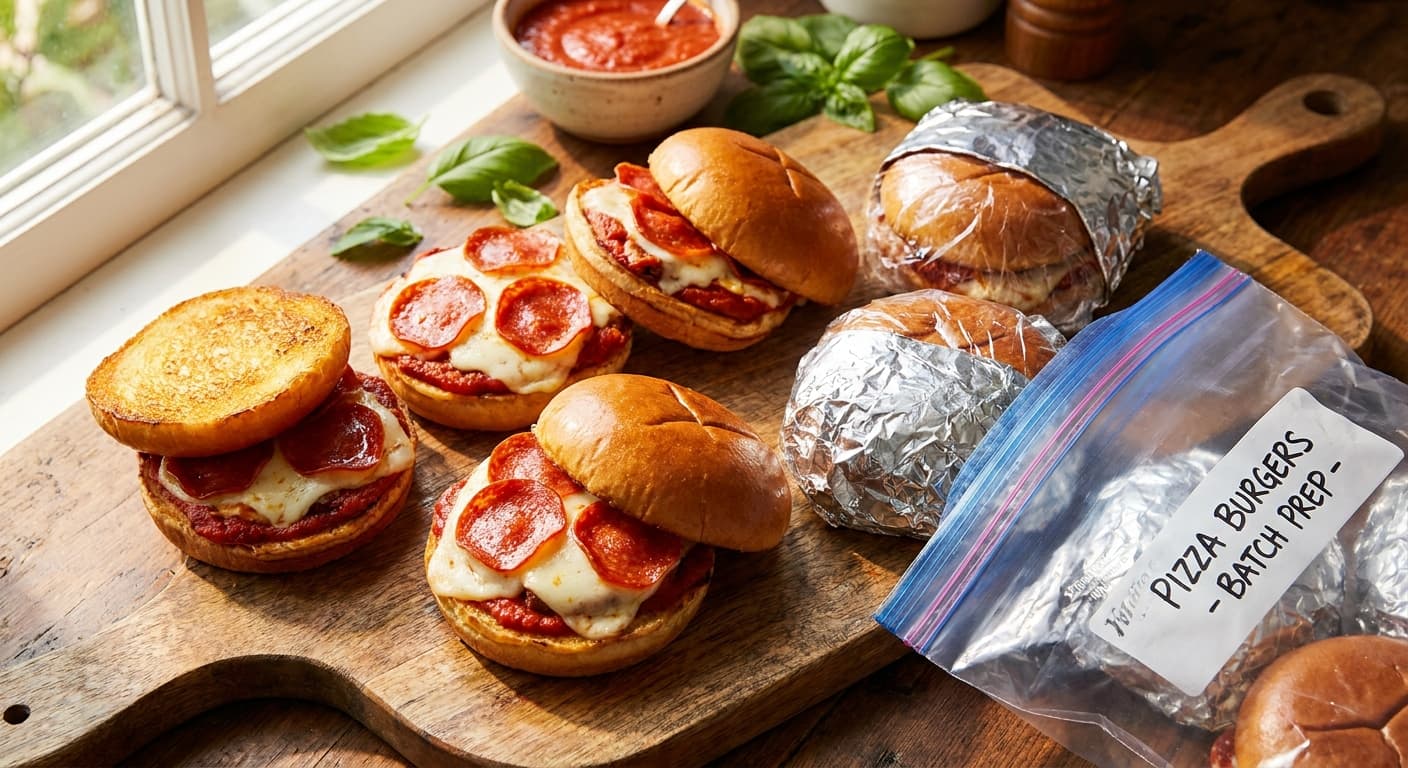
Batch-Cook Pizza Burgers: Your New Freezer-Friendly Weeknight Hero
Discover how to batch-cook pizza burgers for quick, delicious freezer meals that make weeknight dinners and lunches a breeze.
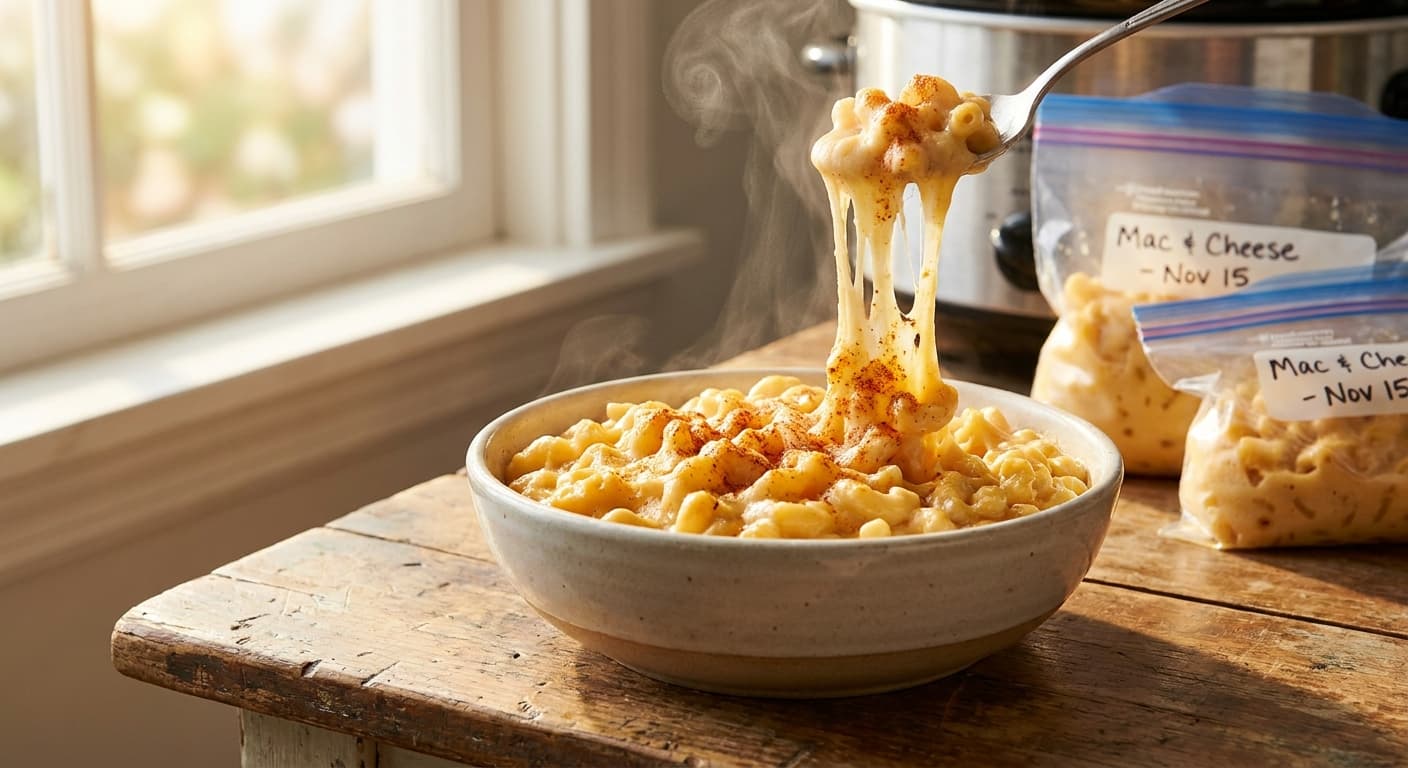
Batch-Cook Your Crockpot Mac and Cheese for Freezer‑Ready Weeknight Wins
Learn how to turn a big pot of crockpot mac and cheese into freezer‑ready portions that save time on busy weeknights without sacrificing creamy comfort.