Meal Prep Magic: Freezer-Friendly Cheddar Jalapeno Protein Bagels
Why These Bagels Are Your New Meal Prep MVP
Hey there, Meal Prepper! Ever have those mornings where you're racing against the clock, craving something savory, satisfying, and substantial, but have zero time to whip it up? Or maybe you're just tired of the same old breakfast routine and need a high-protein hero to power you through your day.
If that sounds familiar, you're in the right place. Let me introduce you to your new best friend: Homemade Cheddar Jalapeno Protein Bagels.
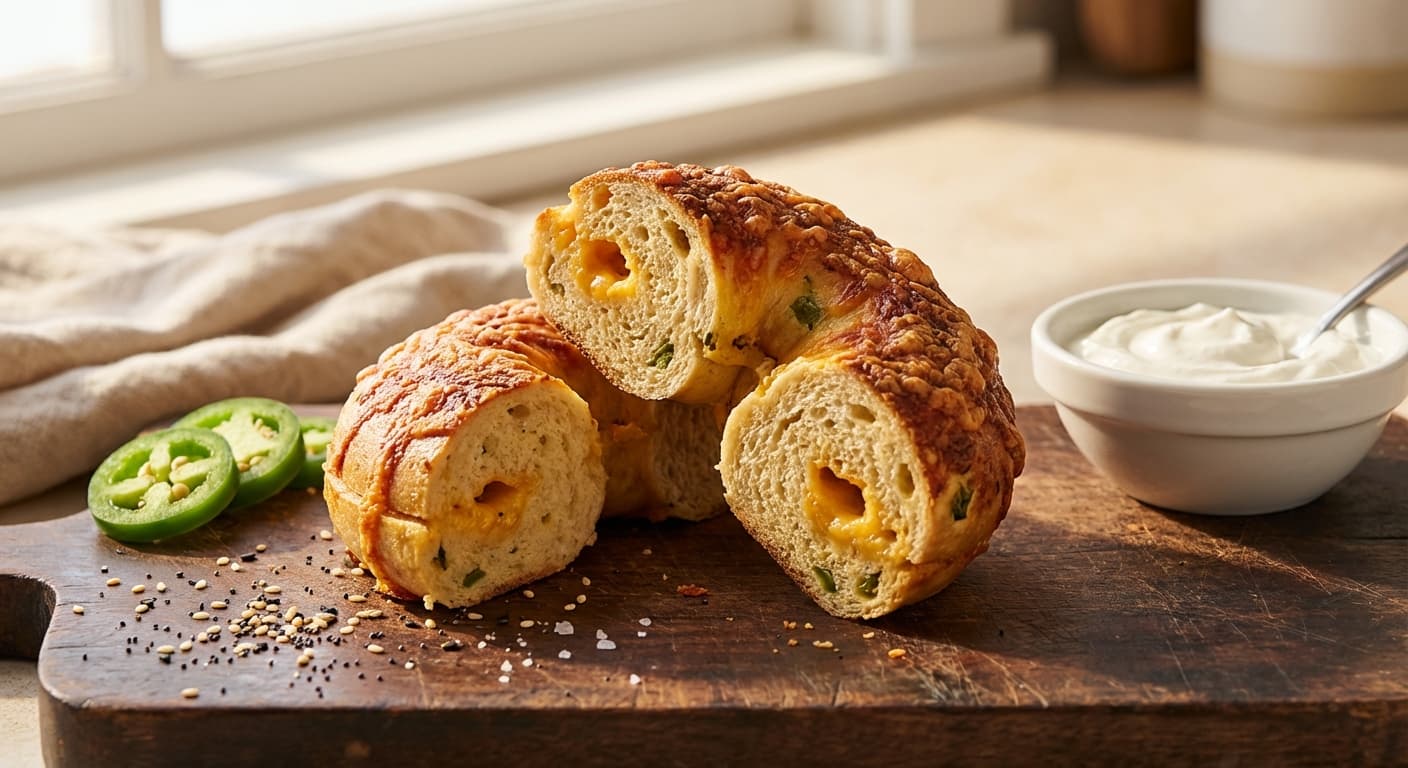
These aren't your average, carb-heavy bagels. We're talking dense, chewy, flavor-packed rounds of goodness, loaded with sharp cheddar, a kick of jalapeno, and a serious protein boost thanks to Greek yogurt and cottage cheese. They are perfect for breakfast sandwiches, lunchtime soup pairings, or just slathered with a little extra butter. And the best part? They are designed specifically for the freezer, meaning you can bake a big batch on Sunday and enjoy gourmet, homemade bagels all week long.
Ready to become a bagel-batching pro? Let's get into it!
The High-Protein Powerhouse: What's Inside?
The magic of this recipe lies in its simple, powerhouse ingredients. Each one is chosen to maximize flavor, texture, and, most importantly, nutritional value.
- The Protein Base: We ditch the traditional flour-and-water dough for a blend of cottage cheese, Greek yogurt, and an egg. This trio provides a creamy, tangy base that bakes up beautifully and packs a serious protein punch. For extra oomph, we're adding in unflavored whey or casein protein powder, which also helps create that perfect, dense bagel crumb.
- The Flavor Stars: Sharp or extra-sharp cheddar cheese gives you that gooey, savory bite, while fresh or pickled jalapenos bring the heat. You control the spice level by adjusting how many peppers you add (and whether you keep the seeds in!).
- The Finishers: An everything bagel seasoning mix on top gives that authentic deli-style crust. It’s salty, seedy, and oh-so-satisfying.
Your Game Plan: The Step-by-Step Process
Don't be intimidated by the word "homemade." These bagels come together in one bowl and require no yeast, no rising time, and no boiling. It's a straightforward mix-and-bake situation. Here’s how it's done.
Step 1: Prep Your Station
First things first, get your oven preheating to 400°F (200°C) and line a large baking sheet with parchment paper. This prevents sticking and makes cleanup a breeze.
Now, let's talk ingredients. You'll need:
- 1 cup small-curd cottage cheese (low-fat or full-fat works)
- 1 cup plain Greek yogurt (full-fat is best for texture)
- 1 large egg
- 2 cups all-purpose flour (or a 50/50 mix with white whole wheat flour)
- 1/4 cup unflavored protein powder (whey or casein blend)
- 1 tablespoon baking powder
- 1/2 teaspoon salt
- 1 cup shredded sharp cheddar cheese
- 1/4 cup finely diced jalapenos (fresh or pickled)
- 1-2 tablespoons everything bagel seasoning for topping
Step 2: Mix the Dough
In a large mixing bowl, combine the cottage cheese, Greek yogurt, and egg. Whisk until smooth. In a separate, medium bowl, whisk together the flour, protein powder, baking powder, and salt. This ensures the leavening agent is evenly distributed.
Pour the dry ingredients into the wet ingredients. Stir with a sturdy spatula or wooden spoon until a shaggy, thick dough begins to form. It might feel a little stiff at first—that’s okay! Once it comes together, use your hands to knead it gently right in the bowl for about 30-60 seconds until it forms a cohesive ball. The dough will be slightly tacky, but it shouldn’t stick all over your hands.
Step 3: Fold in the Good Stuff
Time for the fun part! Gently fold the shredded cheddar and diced jalapenos into the dough. You want to distribute them evenly without overworking the dough. I like to press the mix-ins into the ball of dough and then gently knead it a few times to incorporate them.
Step 4: Shape Your Bagels
Divide the dough into 6-8 equal pieces (use a kitchen scale for perfect uniformity, about 110g each). Roll each piece into a smooth ball.
To get that classic bagel shape, the easiest method is to poke a hole. Use your thumb to press firmly through the center of each dough ball. Then, gently stretch and rotate the dough to widen the hole to about the size of a quarter. The hole will shrink a bit during baking, so be generous! Place the shaped bagels on your prepared baking sheet.
Step 5: Top and Bake
Lightly brush the tops of the bagels with a little milk or an egg wash (one egg beaten with a splash of water) to help the seasoning stick. Then, generously sprinkle the everything bagel seasoning over the top, pressing down gently to adhere.
Bake for 20-25 minutes, or until the bagels are golden brown, firm to the touch, and the cheese is beautifully melted and bubbly. Let them cool on the baking sheet for a few minutes before transferring to a wire rack to cool completely. The smell alone will be a huge reward!
Meal Prep Mastery: Storage & Reheating
This is where these bagels truly shine. They are freezer rockstars.
Storing for the Week
- Cool Completely: This is the most important step! Make sure your bagels are 100% cool to the touch before storing. If they're even slightly warm, trapping them in a container or bag will create condensation, leading to sogginess or freezer burn.
- Wrap Them Up: For the absolute best freshness, wrap each bagel individually in plastic wrap or foil. This locks in moisture and prevents them from sticking together.
- Bag & Freeze: Place your individually wrapped bagels into a large, freezer-safe zip-top bag or an airtight container. Squeeze out as much air as possible before sealing.
- Label & Date: Use a permanent marker to label the bag with the contents and the date. They will keep beautifully for up to 3 months in the freezer.
The Perfect Reheat
Forget the microwave (unless you're in a real desperate rush, and even then, just use a lower power setting). The key to bringing these bagels back to life is to restore their chewy interior and crispy exterior.
- The Toaster Oven / Air Fryer (Best Method): This is the gold standard. Place the frozen bagel directly into the toaster oven or air fryer and toast on a medium setting until heated through, crispy on the outside, and soft on the inside. No need to thaw!
- The Oven: Preheat your oven to 350°F (175°C). Unwrap the frozen bagel, place it directly on the oven rack, and bake for 8-10 minutes until warm.
Get Inspired: Serving Suggestions
Now for the most exciting part: eating them! These bagels are incredibly versatile. Here are a few of my favorite ways to enjoy them:
Breakfast Pairings
- The Classic Savory: Slice your warm bagel in half and top it with a fried or poached egg, a slice of melty cheese, and a few slices of crispy bacon or sausage. A true power breakfast!
- Creamy & Spicy: Slather with a generous layer of chive or jalapeno cream cheese. Top with a few extra slices of fresh jalapeno and a sprinkle of fresh cilantro.
- The Healthy Twist: Top with smashed avocado, a sprinkle of red pepper flakes, and a squeeze of fresh lime juice. Add a slice of tomato for extra freshness.
Lunch Ideas
- Gourmet Sandwich: Use it as the base for a hearty chicken or turkey sandwich. Add lettuce, tomato, and a spicy mayo for a lunch that will make your coworkers jealous.
- Soup's Best Friend: Is there anything better than a warm bagel alongside a steaming bowl of tomato soup or a hearty chili? The cheesy, spicy bagel is the perfect dipper and complement.
- Mini Bagel Pizzas: Slice the bagels in half, top with marinara sauce, a sprinkle of mozzarella, and your favorite pizza toppings, then broil for a quick and easy lunch.
So, there you have it. A foolproof guide to meal-prepping delicious, high-protein cheddar jalapeno bagels that will make your busy week infinitely easier and more flavorful. Go ahead and give it a try—your future, busy self will thank you!
Happy prepping!
Enjoyed this post?
Get weekly meal planning tips delivered to your inbox.
Comments
Related Posts
View All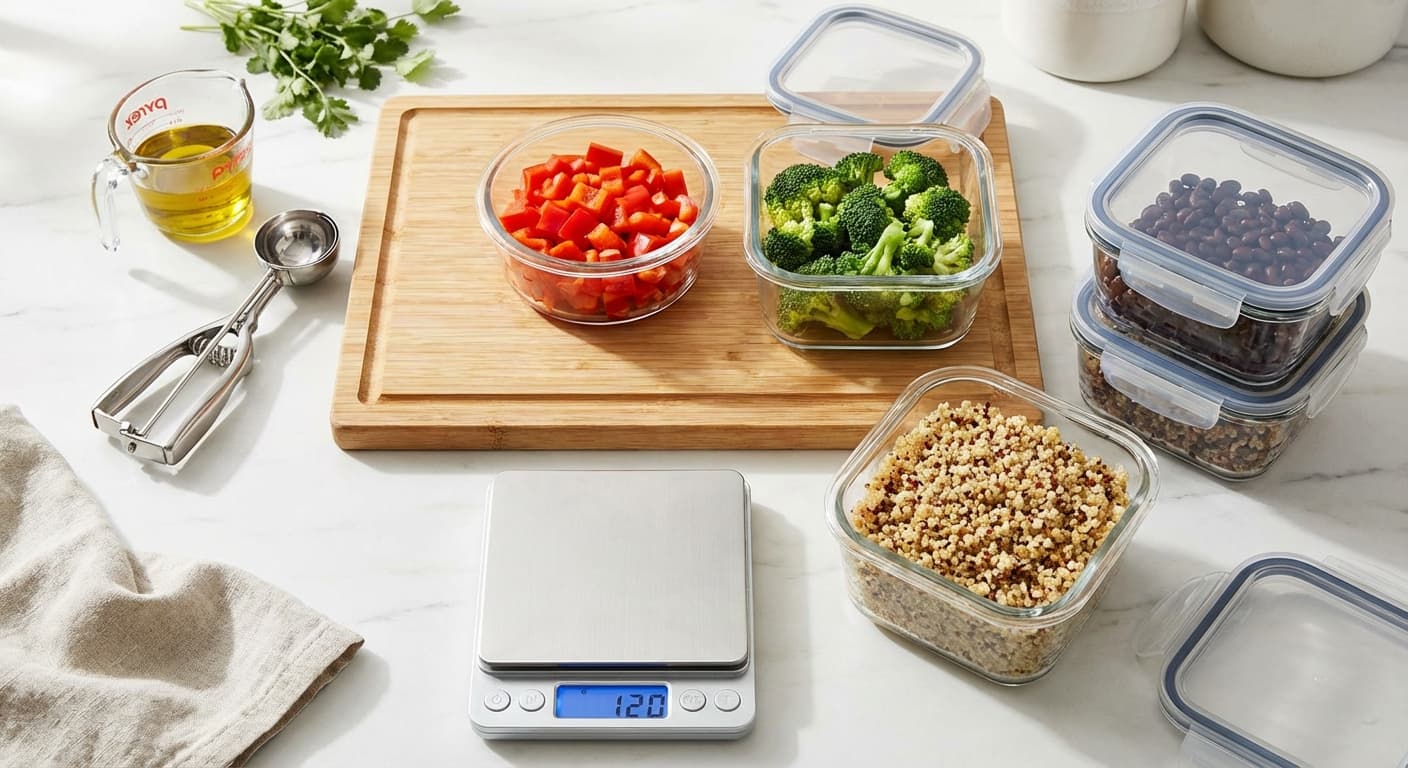
Struggling with Uneven Portions? Here's Your Foolproof Guide to Perfectly Divided Meals
Tired of uneven servings? Discover why portioning is a pain point for so many and learn practical, tech-savvy techniques like cup scoops, stacking, and scales to create equal, hassle-free meals every time.

Crispy Savory Pumpkin Fritters: Your New Meal Prep MVP
Golden, crispy pumpkin fritters that meal prep like a dream—make a big batch Sunday, eat happily all week.
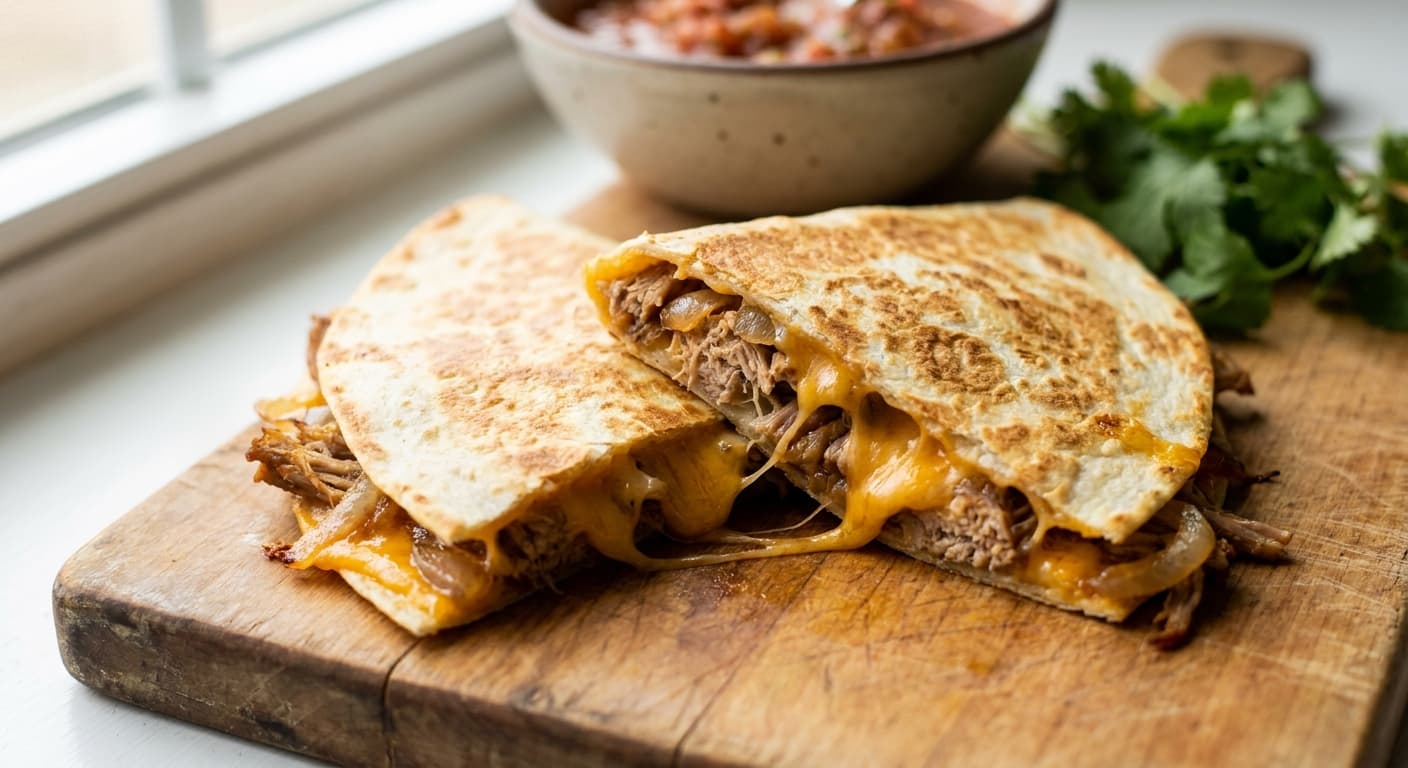
Batch-Cook Pork Butt, Sharp Cheddar & Onion Quesadillas for Easy Freezer Lunches
Learn how to batch‑cook tender pork butt, melt sharp cheddar, and sweet onions into freezer‑ready quesadillas for quick, satisfying meals.